


How to Achieve the Perfect Snatched Bun
POV: You want to wear your hair up for the day… probably to keep it out of your face… or more commonly, it’s in desperate need of a wash and you can’t be bothered! Yep we're all been there, but lucky for you I have a (very simple) solution!

Introducing... the slick bun.
Here’s what you’ll need:
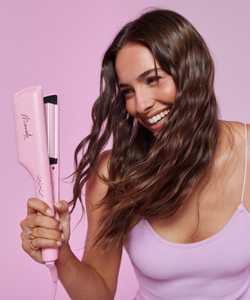
- Mermade Styling brush
- Hair ties
- Bobby pins - not essential
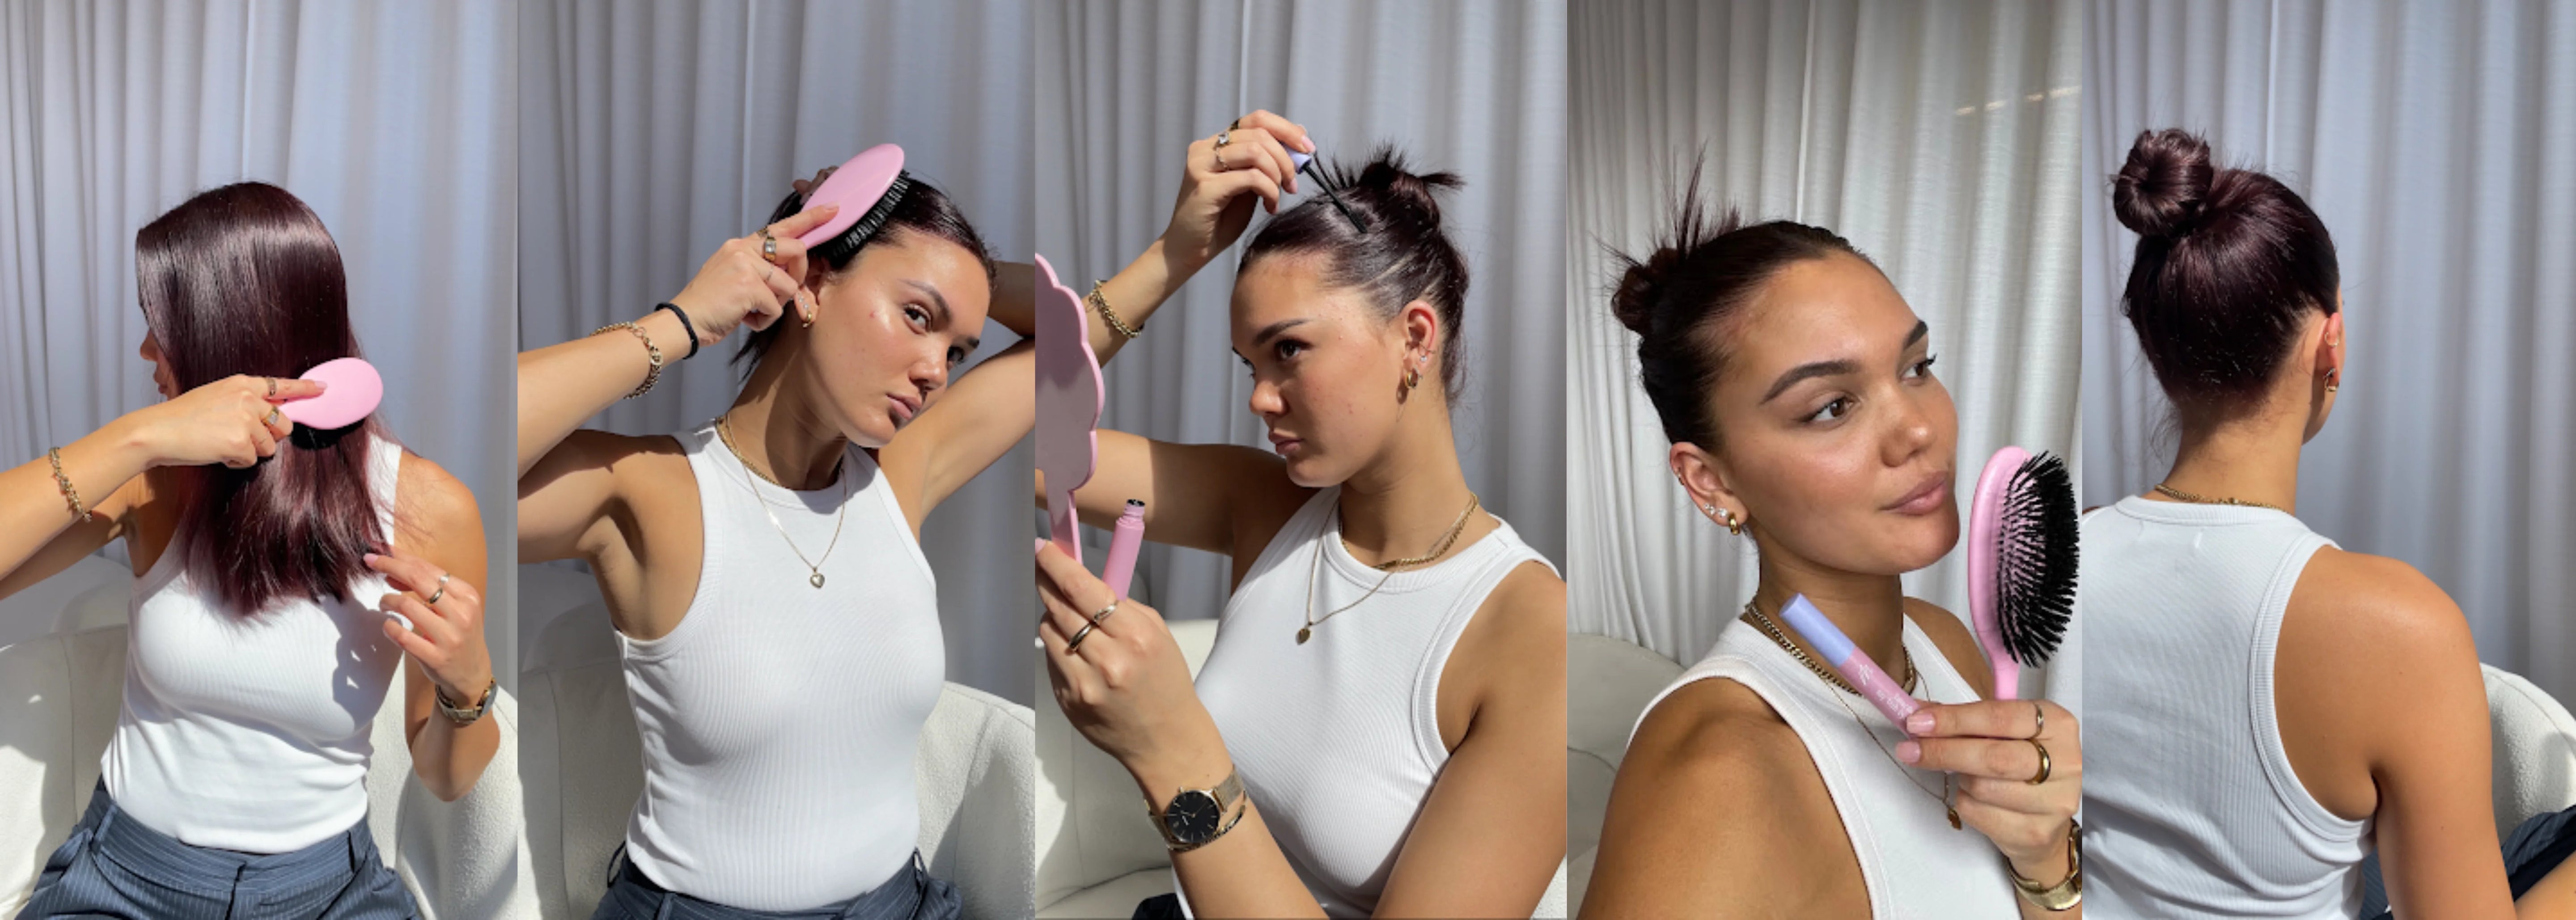
Step 1:
Start by thoroughly brushing your hair with our styling brush so it’s nice and detangled. Having tangle-free hair will make it easier to create the smoothest bun, free of any bumps. Our Styling brush uses nylon bristles that smooth out your hair to create that perfect sleek look. Not to mention, it also adds gloss and shine to your hair!
Step 2:
Brush your hair into a high or low ponytail, wherever you want your bun to sit. I like a high bun with a middle parting, but if that’s not your style then just brush your hair straight back. Secure your hair with a hair tie - don’t worry too much if there’s bumps - that’s where our styling brush comes in again! You can brush over the bumps to help smooth them in preparation for the next step.
Step 3:
Next, grab the ponytail and twist the hair tightly. Then wrap the hair around itself to form the bun and secure in place with another hair tie. Tip: to create another style of bun, simply plait your hair before twisting.
I also like to leave the ends of my hair out to add an “effortless” look to my bun. However, if you are after a super sleek finish, then use bobby pins to secure any extra hair pieces that are sticking out.
… and voila! A simple snatched bun that is so easy, it will become your new go-to hairstyle!